A role decides what a team member can do; an assignment decides where they can do it. Until you assign a workspace to someone, it does not appear in their account at all. Assignments are made from the workspace's own menu, one workspace at a time, and take effect immediately.
Assign a workspace to a member
- On the Workspaces page, open the ⋯ menu on the workspace card.
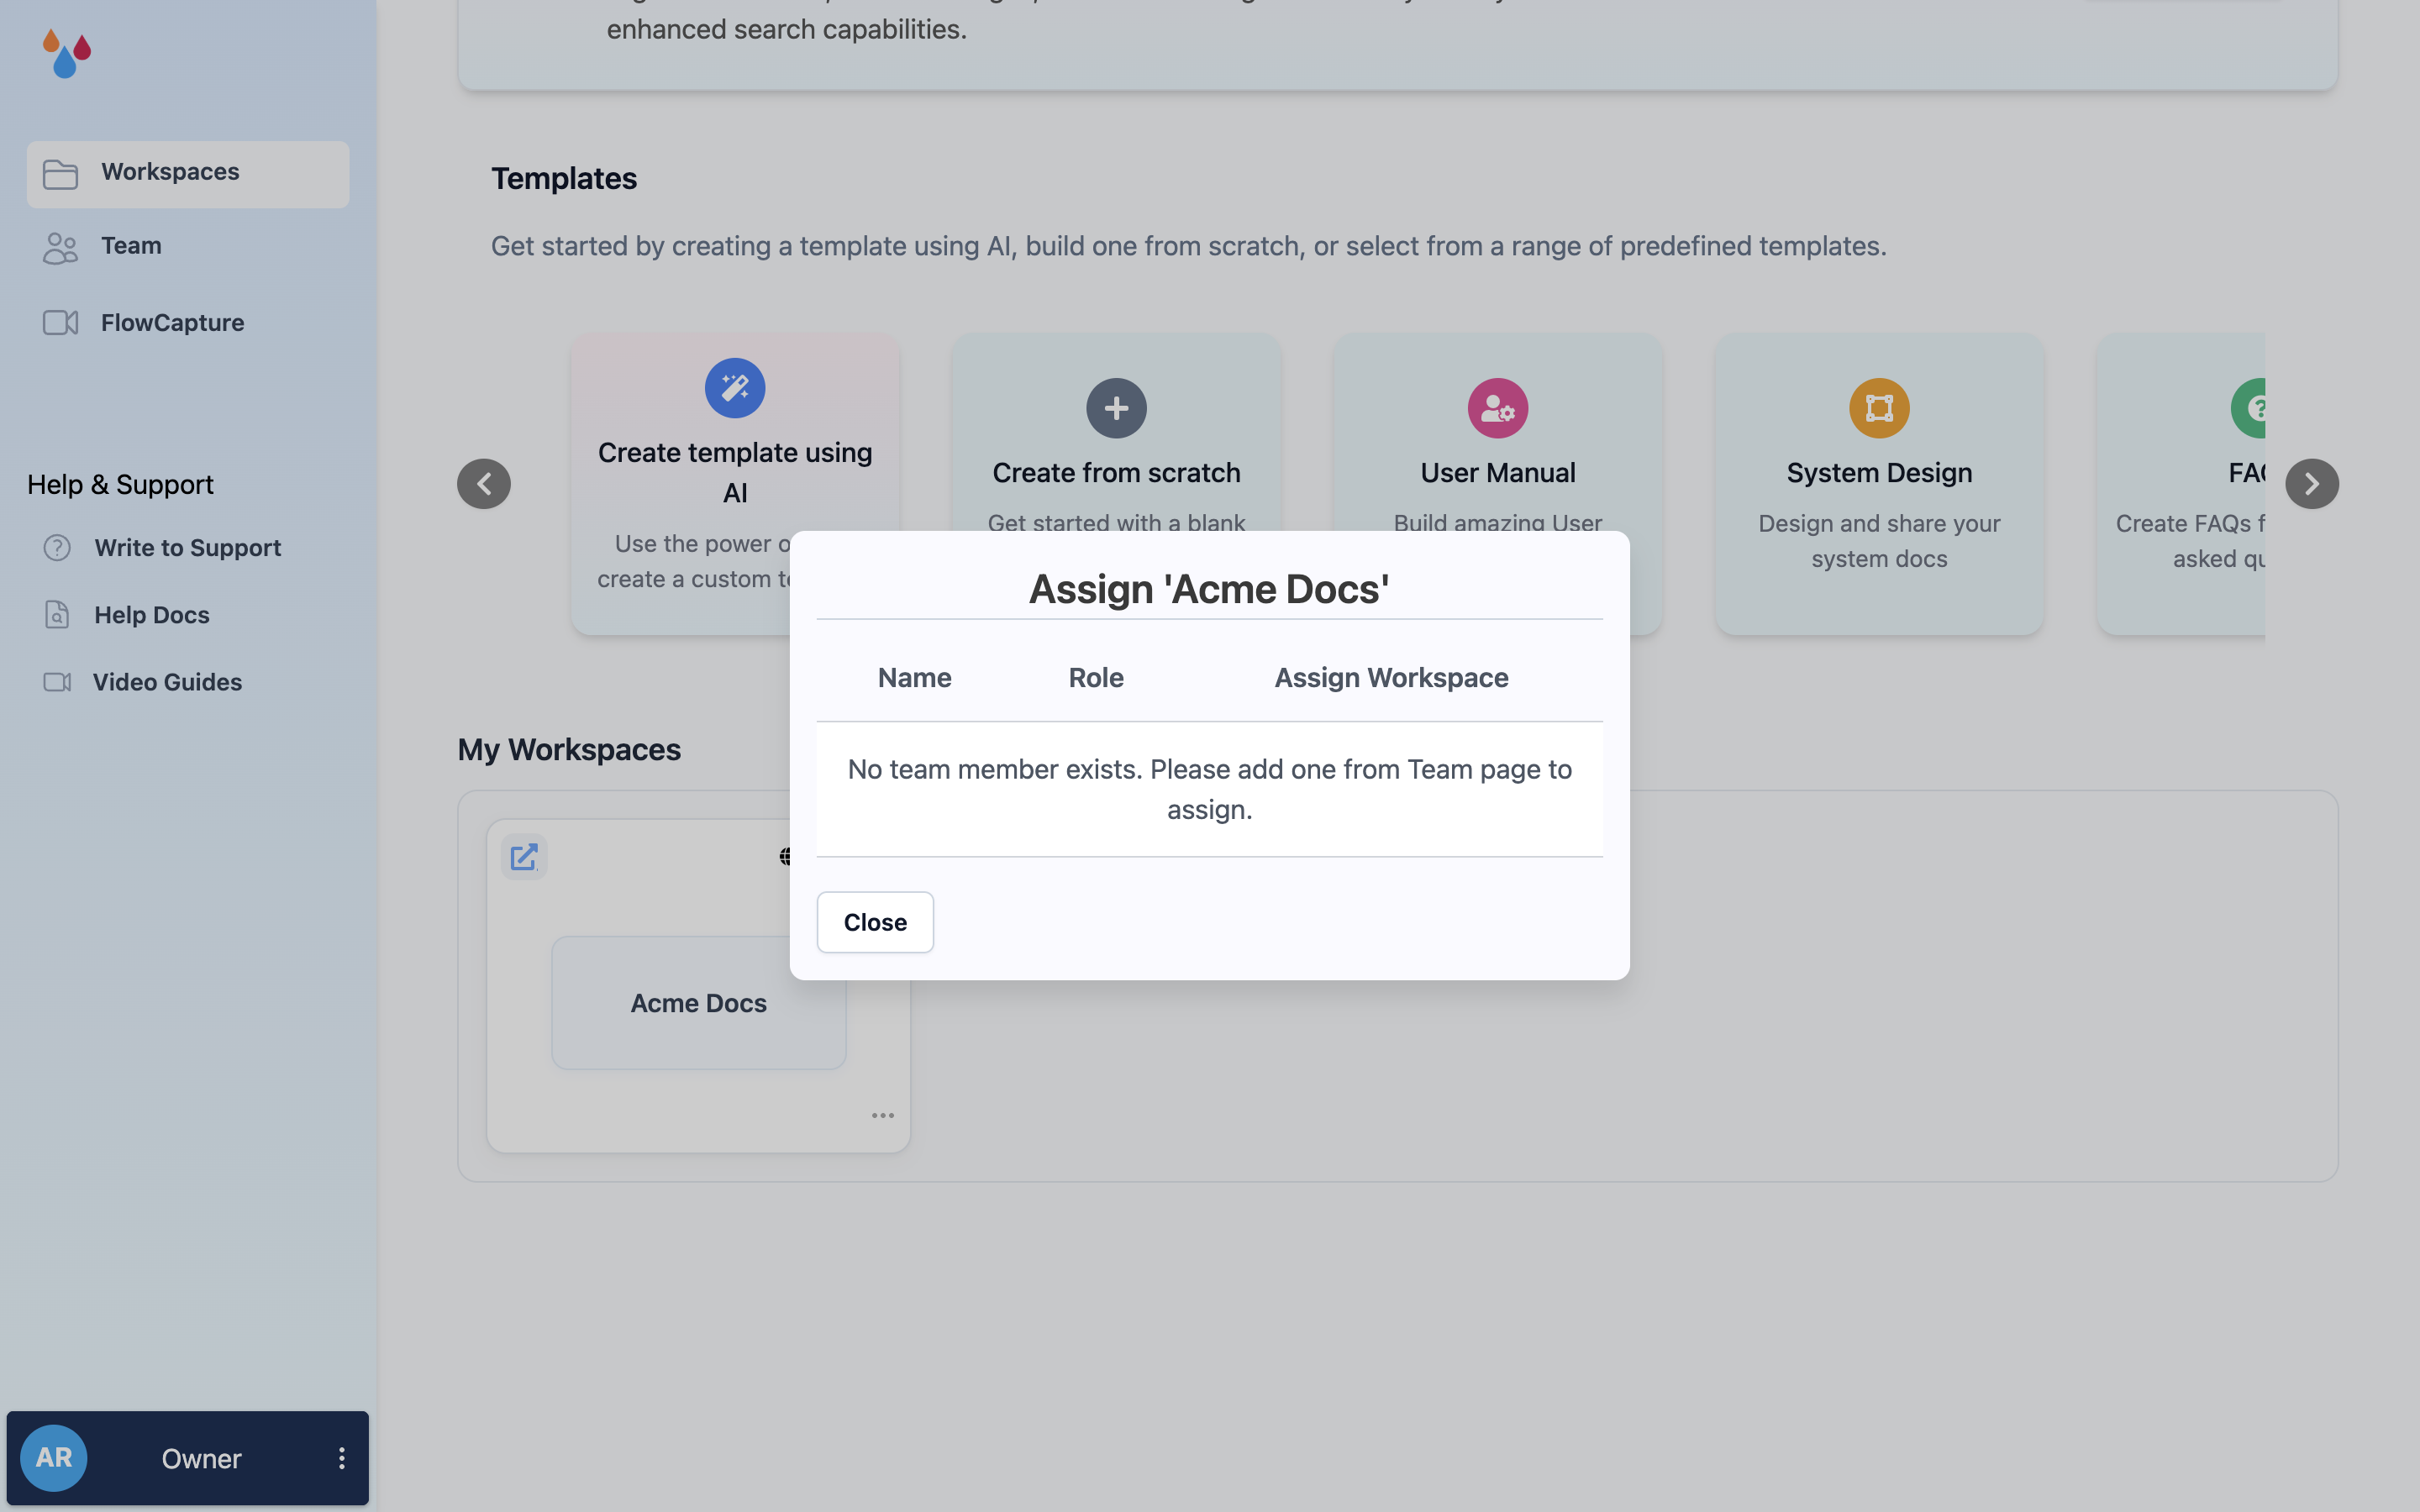
- Choose Assign Workspace. The dialog is headed Assign ''.
- Find the member in the list and switch on the toggle in the Assign Workspace column.
- Close the dialog. The member sees the workspace next time they load their account.
What they can then do inside it is governed entirely by their role. An Editor assigned a workspace can edit its pages but cannot publish them; a Creator can publish. Assigning a workspace never grants a permission the role does not already carry.
Unassign a workspace
Switch the same toggle off. The workspace disappears from that member's account immediately – there is no confirmation step and no grace period. Nothing in the workspace is deleted; drafts and edits they made stay exactly where they are.
Who appears in the list
The dialog lists team members who need to be granted access, which means two groups are deliberately missing:
- Owners. The account Owner already has every permission on every workspace, so there is nothing to assign.
- You. You are looking at the workspace, so you already have access to it.
If the list is empty you will see "No team member exists. Please add one from Team page to assign." – invite someone first from Manage your team.
Limits and plan requirements
- Assign Workspace appears in the workspace menu only if you are an Owner or an Admin. Creators and Editors do not see it.
- It also requires an active subscription.
- Assignments are per workspace. There is no bulk "assign all" action – repeat the steps for each workspace a member needs.